Setup your project
PlayMakers is not currently released for productive usage. The material below is a preview reference.
Please contact us to get started.
Registration is currently not open publicly.
Please get in touch with us, so we can create your account and set the project up for you.
Steps to set up your own project
If you'd like to set up your project yourself on your Studio Dashboard, here’s a guide on how to do it:
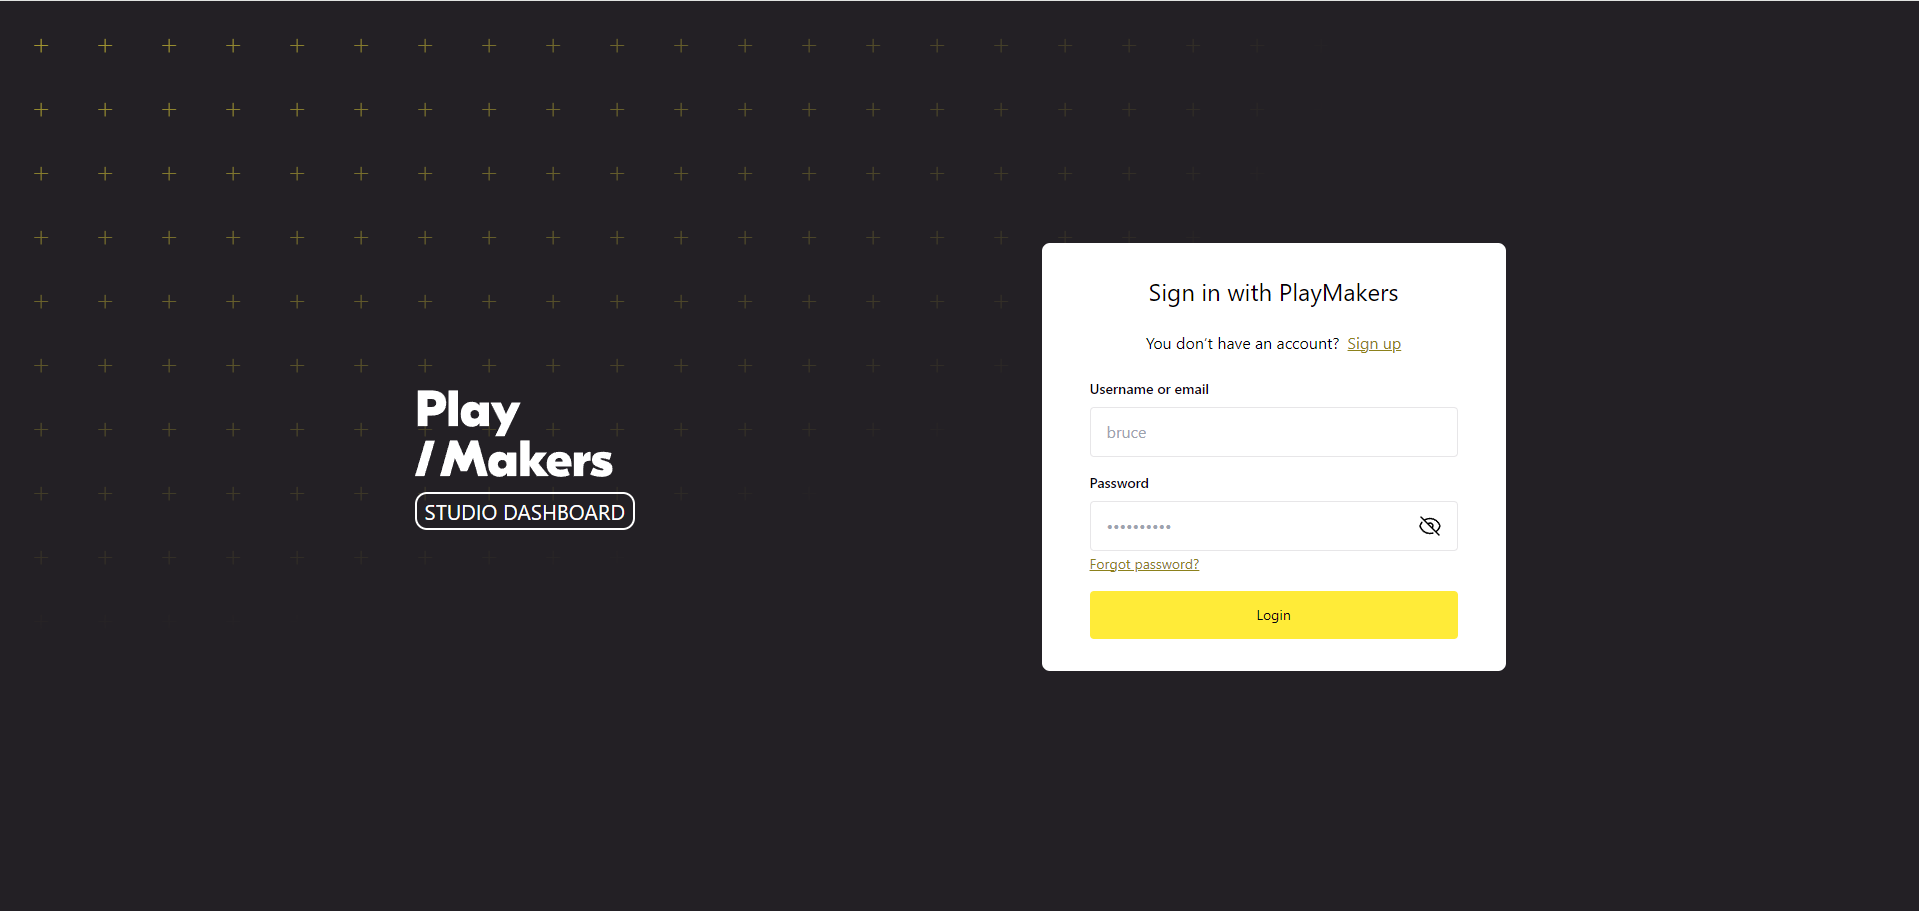
First, create your account if you haven't done so yet:

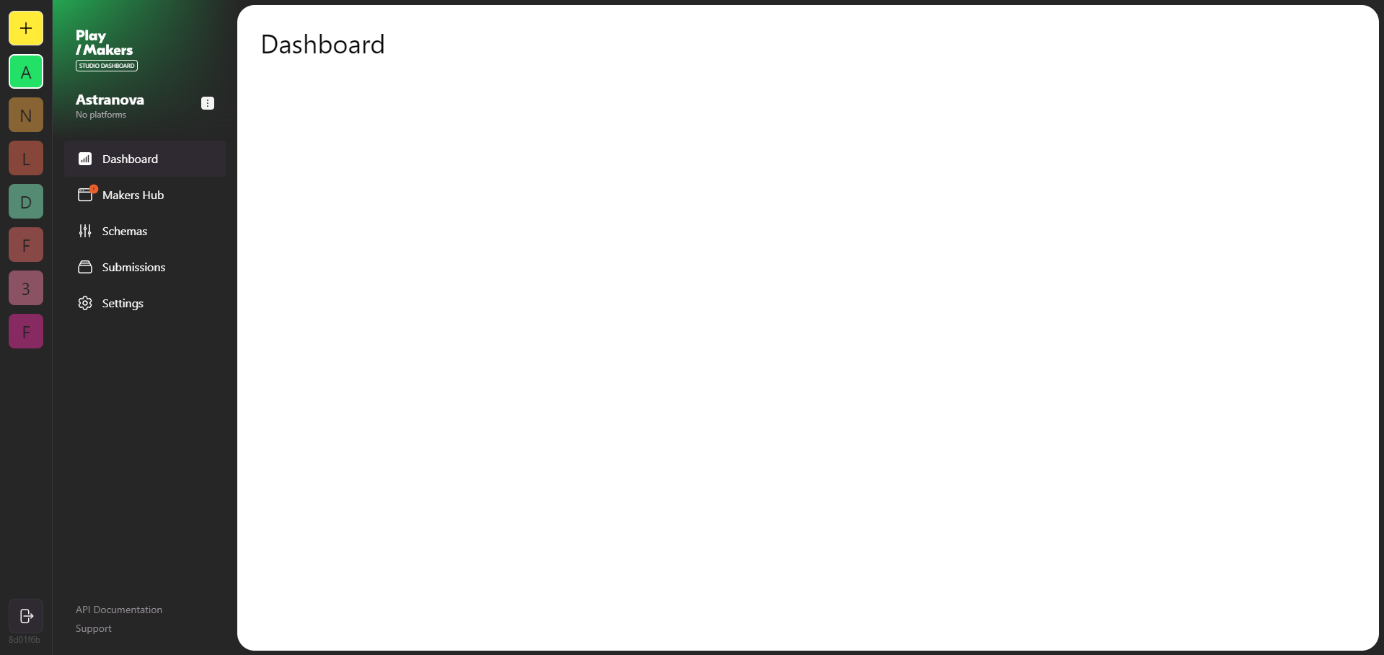
Once you're signed in, to create a new project, select the "Add New Project" button located at the top-left corner of the Studio Dashboard. This button is easily identifiable and allows you to start the process of setting up your game project.

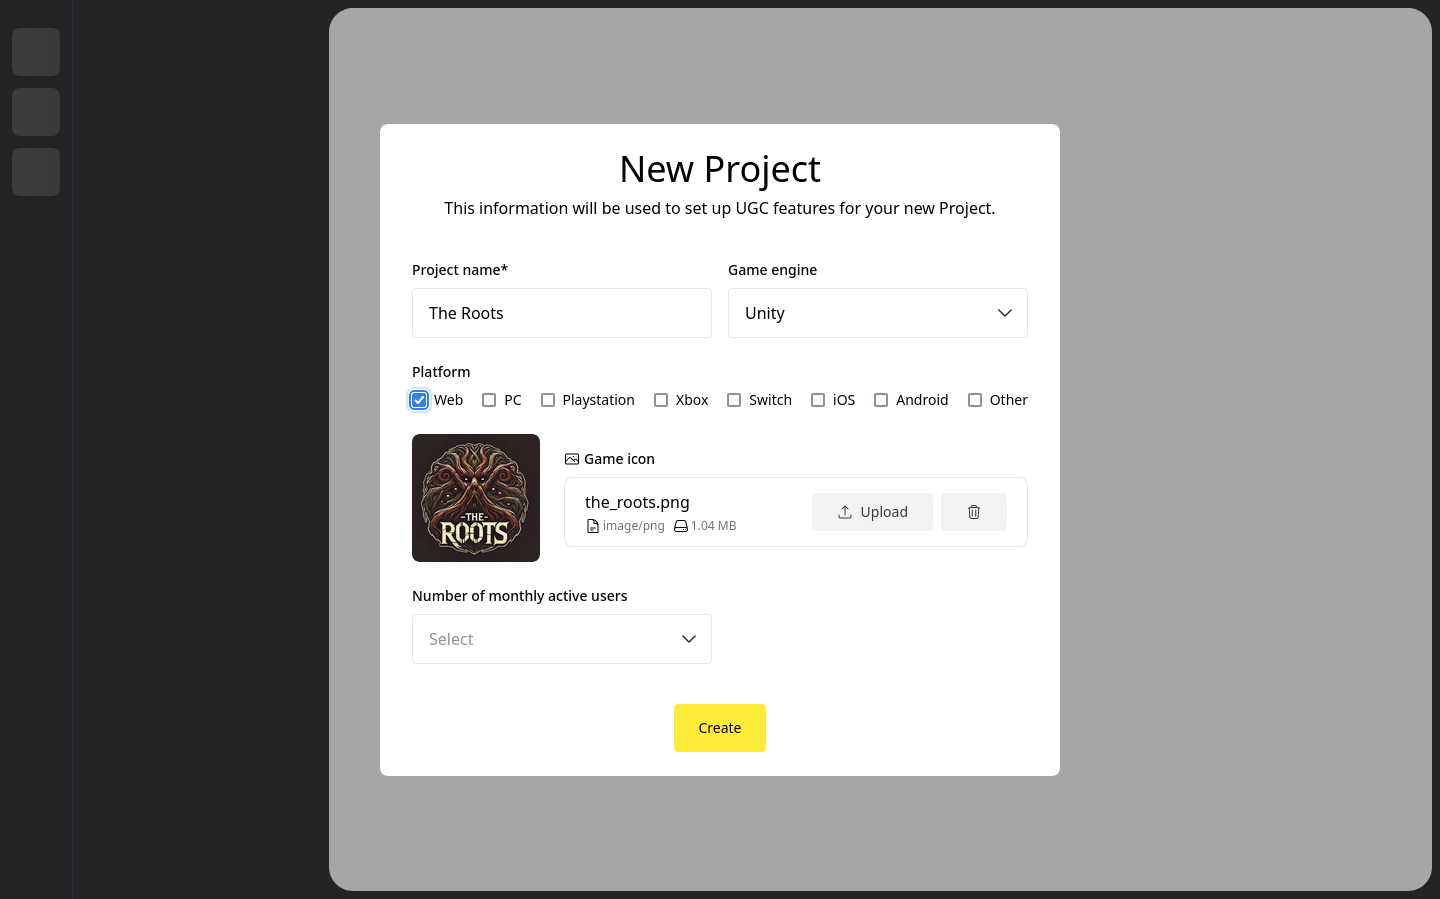
After clicking on the "Add New Project" button, a new screen will appear where you can enter all the relevant information about your game. You’ll need to fill in the following details:
- Project name: The name of your game or project.
- Game icon: Upload The logo representing your game.
- Platforms: Specify where your game will be available (e.g., PC, mobile, console).
- Game engine: Select the engine used to develop your game (e.g., Unity, Unreal Engine).
- Monthly active users: Enter the estimated number of players you expect each month.
After entering these details, you can click the "Create" button to finalize the project setup. This will take you to the next step where your project will be added to the Studio Dashboard, allowing you to manage it going forward.
